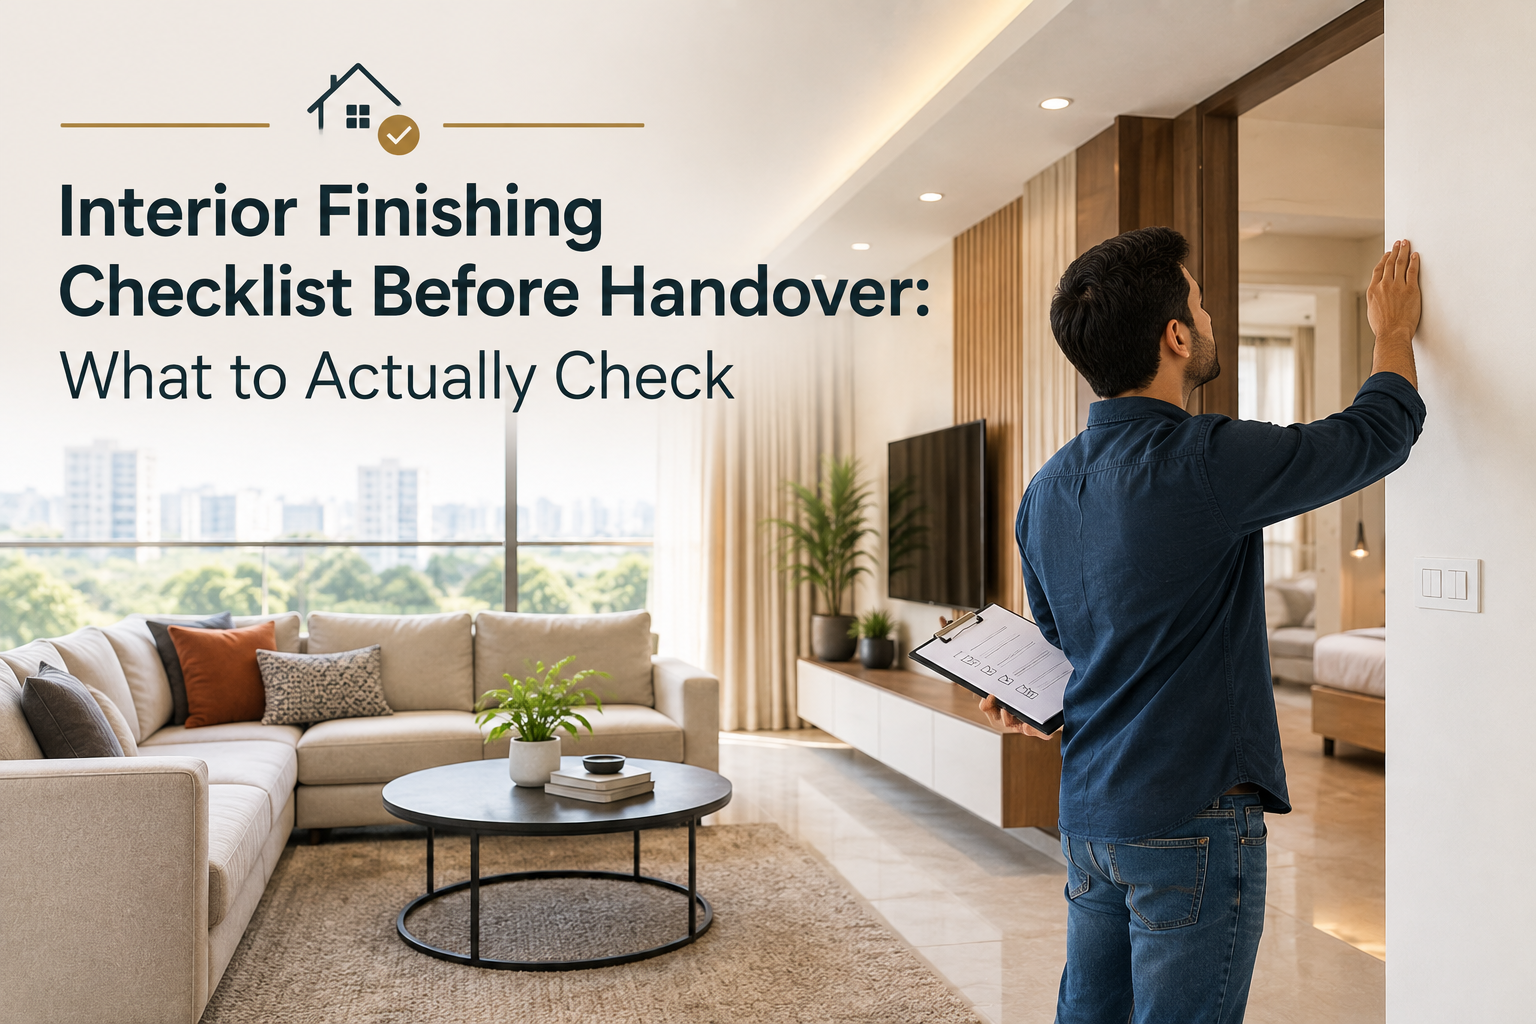
Once you sign off on handover, small defects get hard to fix. It's really hard. That damp patch behind the wardrobe. The switch that flickers just a little. The tile that sounds hollow when you tap it. All of it quietly becomes your problem the second you release final payment.
At Rever Homes, we walk clients through this exact moment on every project we build across Gurugram. And here's the thing we've noticed over and over. The handovers that go smoothly aren't the ones with zero defects. No home has zero defects, ever. They're the ones where the owner actually knew what to check, in what order, before signing anything off.
So here's that checklist. Room by room, system by system, written the way we'd walk it with you in person.
Why This Walkthrough Matters More Than People Think
Under RERA, builders stay liable for structural defects for five years. Reassuring, sure. But proving a defect existed at handover gets a lot harder once you've moved in and started living your life around it. A documented inspection, done properly before you accept possession, is your leverage. Skip it, and getting anyone to fix a damp wall six months down the line turns into a long, tiring back-and-forth nobody enjoys.
There's a name for this in the industry. Snagging. It's your formal window to flag structural issues, finishing flaws, or anything that doesn't match the approved plan, before the builder's obligation to fix it, at their cost, quietly starts to fade.
Before You Even Start Walking Through
Check that the Occupancy Certificate exists and is valid. A builder legally cannot hand you possession without one. No OC, no move-in. Doesn't matter how finished the home looks from the doorway.
Keep your BOQ, approved drawings, and material samples with you during the walkthrough. Every finish should match what was actually approved and quoted, not just what looks fine at the moment. Words like "premium" or "branded" mean nothing on their own. If your contract leaned on vague language like that, ask for exact specifications now, before you sign off on anything.
Structural and Wall Checks
Walk every room and look for cracks. Corners. Window frames. Wherever walls meet the ceiling. Hairline cracks can be normal settling, nothing to lose sleep over. Wider cracks, or ones that seem to be spreading, deserve a second opinion before you accept the space.
Check for seepage or dampness too, especially on walls backing onto bathrooms, kitchens, or anything exposed to monsoon rain. Seepage in a brand new home isn't rare, unfortunately, but it's expensive to fix once it's been left alone. Sometimes north of fifty thousand rupees, just from a few months of neglect. Press your palm against anything that looks suspicious. A cool, slightly damp feel is worth flagging even before you see actual staining.
Electrical Checks, Room by Room
Test every switch and socket. Not a sample of them. Every single one. Flip each switch, watch for flickering, check that brightness looks consistent across similar fixtures. A light that flickers at handover rarely fixes itself. It usually means a loose connection, and loose connections get worse, not better.
Check earthing and socket grounding, especially in kitchens and bathrooms, where water and electricity sit uncomfortably close together. Ask for the electrical test report if it's not already sitting in your handover documents. It should be there.
While you're at it, mentally label every switchboard as you go. Confusing, unlabelled switches feel like a small annoyance during the walkthrough. They become a genuine daily irritation once you're actually living there and fumbling for the right one in the dark.
Plumbing and Water Pressure
Run every tap. Check pressure at each one, not just a single bathroom you're treating as representative. Pressure can swing meaningfully floor to floor, or even fixture to fixture, especially in independent floors and villas with several bathrooms.
Look under every sink and around every fixture base for leaks. Flush toilets. Run the showers. Watch how fast water drains. Slow drainage at handover rarely gets better on its own. It usually points to a partial blockage or a poor slope that needs sorting before you move furniture in and forget about it.
Flooring and Tiling
Tap the tiles across the floor, especially near edges and corners, and listen for a hollow sound that hints at poor adhesion underneath. One or two hollow-sounding tiles isn't unusual. Clusters of them are a real problem, one that tends to show up as cracking within a year or two, right when you've stopped thinking about it.
Check grout lines for consistency, and look for chips or scratches near doorways and other high-traffic spots, since that's where damage happens fastest during finishing and furniture moves. Natural stone and premium flooring deserve extra scrutiny here, given what replacing them later actually costs.
Kitchen and Wardrobes
Open every cabinet and drawer. Check soft-close mechanisms, shutter alignment, and whether the handles feel firm rather than loose and wobbly. Put a bit of weight on drawers if you can. Everything should feel solid. Not flexible, not creaky.
Check appliance cutouts against your actual appliance dimensions, especially if you sourced appliances separately from the kitchen fit-out. Mismatched cutouts are common, and completely avoidable if caught now. While you're there, look at the edge banding on laminate surfaces too. Peeling edges are usually the first sign of wear anyone notices.
Doors, Windows, and Hardware
Open and close every door and window fully. Check hinges for smooth movement, locks for proper engagement, and seals for gaps that could let in dust or water come monsoon. A door that sticks slightly at handover has a habit of getting worse as the frame settles in over the following months.
Check window glass and frames for scratches too, and confirm any specified fittings, like multi-point locking systems, actually match what you were quoted.
Paint and Final Cosmetic Checks
Look for "holidays," those small missed patches painters sometimes leave behind, along with drips or overspray on flooring, fixtures, or window glass. Check colour consistency across walls painted at different times as well, since batch variations genuinely do happen.
This is the last stretch of the checklist, and it's tempting to rush through it because it's the most visible, easiest part to judge at a glance. Don't rush it. It's also the cheapest category of defect to get fixed before handover, and the most annoying one to live with afterward if you let it slide.
Documents to Collect at Handover
1. Occupancy Certificate
2. Approved building plan and RERA-certified carpet area confirmation
3. Electrical test report
4. Warranty documents for appliances, fittings, and structural work
5. A written snag closure report, signed off once fixes are verified
Hold back at least a small portion of final payment, tied specifically to written snag closure, wherever your contract allows it. Once full payment clears, your leverage to get small fixes actioned quickly drops fast. Almost overnight, honestly.
How to Actually Run the Walkthrough
Go room by room, not system by system. It's genuinely easier to catch everything in a space- structural, electrical, plumbing, finishing- before you move to the next room, rather than doing four separate passes through the whole home.
Photograph every defect with a clear view of exactly where it is. Can't attend in person? Ask for a video walkthrough with the BOQ in hand, room by room, instead of relying on a handful of photos sent after the fact.
Give each flagged item a category. Cosmetic, functional, or safety. It helps you prioritise what genuinely needs fixing before you move in, versus what can wait a little, without letting anything quietly slip through unaddressed.
Mistakes People Keep Making at Handover
Rushing the walkthrough because moving day's already booked is the most common one, by a mile. A rushed inspection catches a fraction of what a proper one does, and the defects you miss don't disappear. They just get a lot harder to prove later.
Accepting vague verbal assurances instead of written confirmation is another. "We'll fix that later" needs to be in writing, with an actual date attached, not just said out loud during the walkthrough and then forgotten. Releasing full and final payment before snag closure is a third mistake, and it quietly removes your negotiating position the moment it happens.
How Rever Homes Handles Handover
We don't treat handover as the finish line where our attention just drops off. Every home we build goes through a structured, room-by-room quality check before we ever invite the client to walk through it themselves, and we stay engaged right through snag closure. Not just for the final photo.
That's not because defects don't happen on our sites. They do, on every project, everywhere, always. It's because how a builder responds afterward tells you far more about their actual standards than a spotless walkthrough ever could.
Getting close to handover on your own build? Talk to Rever Homes for a construction process built around real quality checks, not just a final walkthrough. Or check your estimated cost with our cost calculator.
Related Reads
1. Property Registration After Construction Completion
2. Home Construction Timeline in Gurgaon: Step-by-Step Guide
3. How to Choose the Right Home Construction Company in Gurgaon
4. Construction Loan & Financing Guide for Gurgaon Homeowners
5. Building Plan Sanction Process in Haryana: A Complete Guide
5. DTCP Approval Process for Home Construction in Gurgaon